Big Batch Italian Meatballs
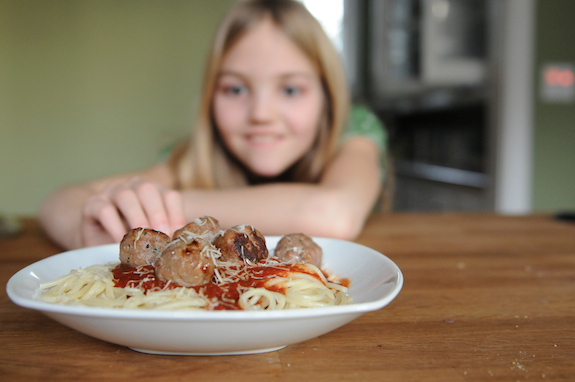
Aside from pizza, is there any other meal that is as sure to get an enthusiastic reception as spaghetti and meatballs?
I’m a fan myself. Five years ago, that big warehouse club bag of meatballs was omnipresent in our freezer. I’d have been as panicked to discover I’d run out of meatballs as Cheerios. However, with my new, make-it-myself way of eating, I’ve lost my taste for them. I’ve also found that- like most dishes- making it myself isn’t a big ordeal. I’ve played quite a bit and have come up with my idea of the perfect meatball to pair with spaghetti and marinara.
I make these in a big batch because it is almost silly not to. You see, there is not much prep- chop some onion and garlic, give some herbs a whirl in the food processor- so for almost the same amount of time, you have four (or six, depending on the size and appetite of your brood) ready-to-go meals instead of just one.
I do go the extra step of grinding my own meat. There are a few reasons for that. First, it’s protection against food borne illness. Ground meats come from all kinds of animal parts from innumerable sources- significantly upping the chance of e. coli contamination. Second, I can use high-quality cuts from reliable local farms. I know I’m getting great flavor and- because the animals I’m eating enjoyed a healthy diet- I’m reducing that whole e. coli thing even further. Third, the grinder does a wonderful job of creating a uniform texture to the meat mix- integrating fat, seasonings and meat. This leads to a really nice mouth feel for the meatball.
Ingredients
For the panade
1 ½ cups bread crumbs
1 ½ cups heavy cream, half and half or whole milk
For the aromatics
3 cups onion, finely chopped
1 head of garlic cloves, finely minced
For the meat
3 pounds pork shoulder (the fattier the piece the better) or ground pork
2 pounds chuck roast or ground chuck
2 pounds veal roast or ground veal, preferably “pink” or milk-fed pasture-raised
½ pound ham, chopped fine or- if not using a meat grinder, ground in a food processor This is optional, I initially added this because I had it around and was curious. It adds a slightly smoky dimension that’s quite pleasing.
To season
¼ cup oregano leaves, washed and rinsed
1/3 cup packed basil leaves, washed and rinsed
1 tablespoon sage leaves, washed and rinsed
1 tablespoon fresh ground black pepper
1 tablespoon red pepper flakes
¼ cup kosher salt
Instructions
Make the panade
1. Combine the bread crumbs and dairy of your choice. Stir to combine.
2. If necessary, add more dairy to ensure that all breadcrumbs are well moistened.
3. Allow the breadcrumbs to rest while you make the meat mixture. The panade will be very thick, pasty and almost dry-ish.
Sweat the aromatics
1. Place the onions and garlic in a 12” skillet and sweat (i.e. cooking them without letting them brown) over low heat for 7-10 minutes.
2. Remove from heat and allow to cool.
3. If using a meat grinder: add the cooled onions to the meat mixture. If not using a meat grinder: process the aromatics into a paste in a food processor.
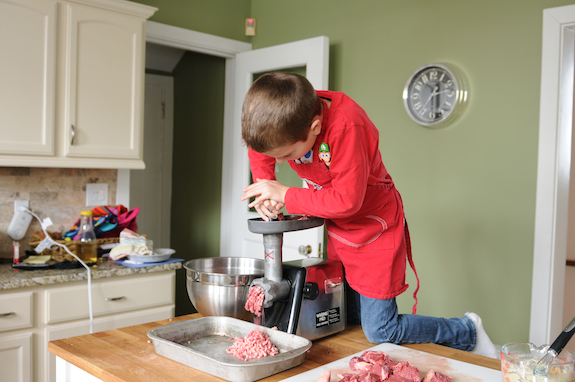
Max is our tireless meat grinder. He loves this job. You might question whether or not young children should be put in charge of such an activity but we've talked over the safety issues and, honestly, he'd have to make an effort to hurt himself on this particular meat grinder.
Make your meat mixture
1. Grind the pork, veal and beef, if not using pre-ground. Place in a very large bowl.
2. Add the ham and seasonings.
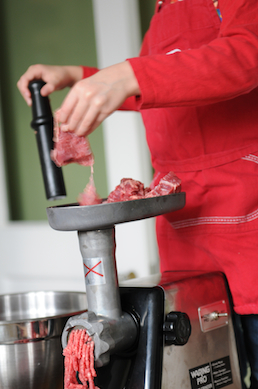
3. If using a meat grinder: Roughly mix the meat with your hands. Process the meat mixture through the grinder one more time.
If not using a meat grinder: Using your hands, thoroughly mix the meats. This will be real work. You might break a sweat here. You want to smoosh it vigorously for 3-5 minutes until it feels sort of pasty and looks mostly consistent in its color.
4. Place about 4 cups of the meat mixture in a separate bowl. Add the panade and smoosh until thoroughly combined. It’ll take a while to fully smoosh out all the panade lumps and make it totally cohesive.
5. Add the panade and meat mixture back into the rest of the meat and- you guessed it- smoosh it thoroughly to combine.
Cook the meatballs
1. Preheat the oven to 450-degrees.
2. Make a little meatball and cook it for 20-30 seconds in the microwave until done. Taste it to be certain of your seasoning. Adjust if necessary.
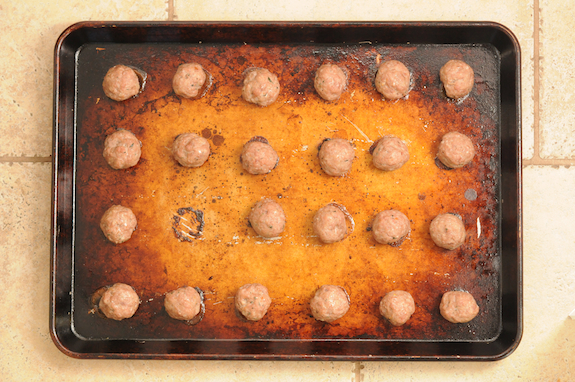
3. Lightly oil two rimmed baking sheets. Scoop and roll out meatballs of approximately 1 1/2” diameter. Place them about 1” apart on the oiled baking sheet. I use a 1 1/2” (1 Tablespoon) “cookie scoop” which makes perfectly uniform meatballs very quickly.
4. Bake the meatballs for 10 minutes, or until done. The meatballs will feel firm and springy when they’re done, but cut one open just to check.
Storing your meatballs
1. You can store your meatballs in two ways. You can freeze the uncooked meatball mix in a plastic bag with the air pushed out. I use my vacuum sealer to do this and this mixture lasts indefinitely in my chest freezer.
2. You can also let the meatballs cool and then put them in a plastic bag so they’re ready to use. I actually do both. I’ll eat one batch of cooked meatballs that night. I’ll freeze a second batch for another night. The rest of the mix goes into the freezer.
Off Script…
Brownness is an issue with this way of cooking the meatballs. Only their bottoms will be beautifully browned if you bake them as described. If you’re yearning for a bit more brownness, those of you with fancier kitchens have two options. First, you could use the “Roast” instead of the “Bake” setting in your oven and place the rack more towards the top of the oven as you bake them. If you do this, reduce the heat by 25-degrees as the effect of having two burners going is a “hotter” oven. Second, if you have a another oven, you could put the meatballs under the broiler for a minute to give them a bit more browning. I don’t have either of these options available to me in my current kitchen.

