I know. I said I’d be on hiatus ‘till the New Year. I’m cheating just a little for a good purpose. Bill and I decided to send a custom-cut porterhouse steak and some Campeche shrimp from Gourmet’s Choice [2] as Holiday gifts to some of his closest work colleagues. While I was working out the details of the order with Jim, I realized that there are probably a lot of folks in the world who might feel a bit daunted by this gorgeous slab of meat.
The truth is that just a few years ago, I myself would have been intimidated. Should I make a sauce to go with it? It’s too cold to grill, so how can I cook it in a skillet? How do I know when it’s done?
In this situation, the simplest answer is the absolute best answer. This piece of meat has as much flavor complexity as a fine red wine and I’d personally never dream of masking that with a marinade or pan-sauce. To do so would be like making Sangria with a bottle of Opus One. The objective here is to just expose the meat’s natural flavors to your palate.
Briefly, the move has gone great. I look forward to elaborating on that when I’m posting again in a little less than two weeks. Until then, I must be disciplined about things like acquainting myself with the NY state “Rules of the Road” handbook, transferring medical records, and devising the perfect system for organizing bathroom toiletries.
Merry Christmas, Happy Holidays and Happy New Year!
Ingredients
One large Porterhouse steak (approximately 2 pounds)
Kosher salt or sea salt
Special Equipment
Cast iron skillet [3] (preferable for its ability to heat evenly and stay raging hot) or other oven-proof skillet. Choose one that is just a little bit bigger than the piece of meat you’re going to cook.
Instructions
Prep the steak
1. Preheat your oven to 400-degrees.
2. Pat the steak as dry as possible with paper towels.
3. Decide which side is the “pretty side.” This a simple aesthetic judgment. Sometimes there isn’t much of a difference. Place the steak on a cutting board or dish pretty-side-up.
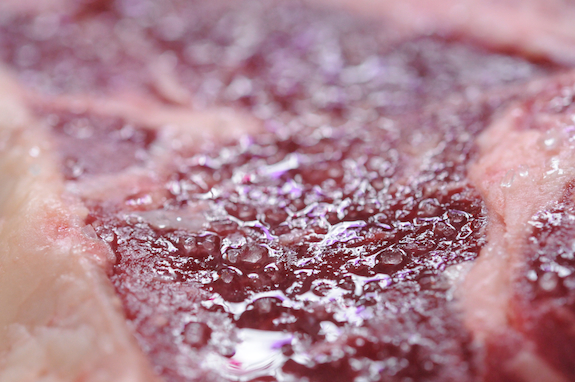
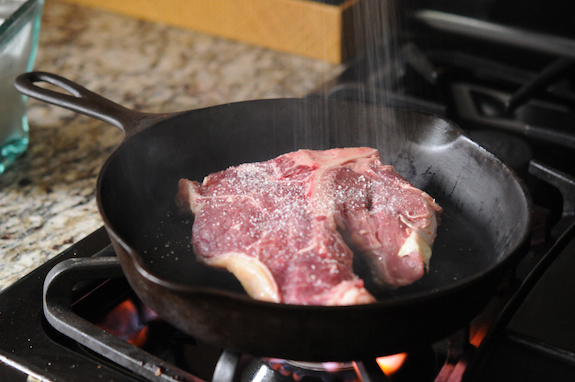
4. Sprinkle generously with kosher or sea salt. The salt is doing to draw out the natural juices from the meat. Why bother? Well, those juices contain proteins and carbohydrates that are going to give you a beautiful brown, flavorful Maillard reaction [4] (a.k.a. “brown crust,” but Maillard reaction sounds much more elegant, eh?). Allow the meat to rest with the salt on it at room temperature for about 7 minutes or until the salt is dissolved and the surface of the meat is wet with juices.
Cook the steak
1. Preheat your cast-iron pan over high heat for about 2 minutes. It might smoke a little bit but if it gets really smoky, turn the heat down just a bit.
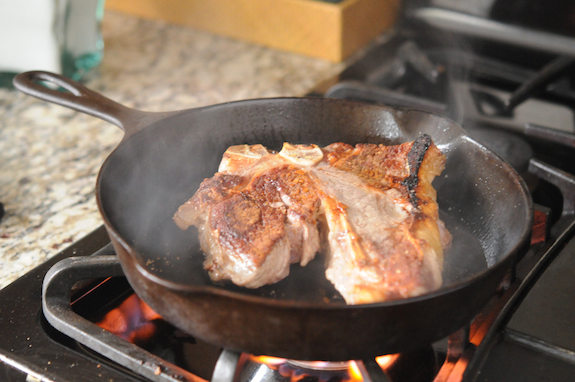
2. Turn on your vent fan to high if you have one. Place the meat, pretty-side down, in the pan in one quick motion. DO NOT ADJUST THE PLACEMENT OF THE MEAT ONCE IT HAS MADE CONTACT WITH THE PAN. Doing so will compromise your Maillard reaction.
3. Sprinkle the side of the meat that now faces up with salt. Cook the first side for about 3 minutes, peeking under a corner as the time adds up to check the brownness.
4. Flip the steak and let it sear for another 3 minutes. The second side won’t acquire as much of a sear as the first because the pan won’t be as raging hot when you flip to the second side as it was when the first side hit the pan. That’s why you did the pretty side first!
5. Test the steak for doneness. Be sure to check near the bone because the meat near the bone will take longer to cook. It probably won’t be done yet, but you should understand where you’re at before you put the steak in the oven to finish. You can test for doneness with a meat thermometer, though I tend to have bad accuracy with my thermometer on anything this thin. Your second option is to poke the meat. The “doughier” it feels, the rarer it is. The denser and springier it feels, the more well done. Get in the habit of poking your meat and you’ll be an almost foolproof judge of doneness. Your very worst option is to cut the meat open to check for doneness. You’ll lose so much of the natural juices to the cutting board.
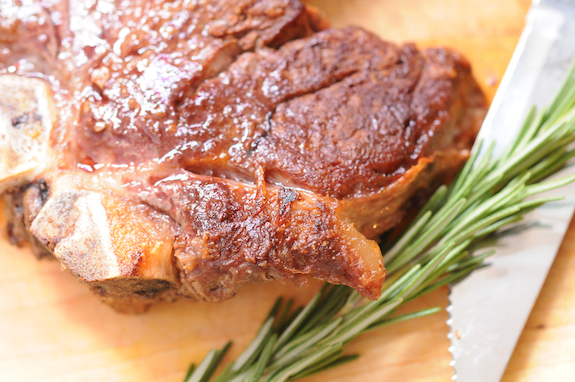
6. Transfer the steak to the oven to acquire the degree of doneness you’re looking for. For rare meat, you might not need to go into the oven. For medium steaks, we’re probably looking at 3-5 minutes. For a well-done steak, you’ll go as long as 10 minutes. It is cringe-inducing to imagine cooking this steak to a well-done temperature. If you have someone squeamish among you, I might suggest cooking it to medium-well and giving them some cuts from the outside edges.
 [7]
[7]You can see in this image that part of the first side of the steak didn't sear. The bone prevented the meat from making good contact with the bottom of the pan. That just happens.
Rest and serve
1. Remove the meat from the oven to a cutting board. Tent loosely with aluminum foil and rest for 7-10 minutes. I don’t care how starving you are at this point you mustn’t cut into the meat until it has rested. The juices will spill out all over your cutting board. Resting allows the juices to disperse throughout the meat, resulting in much more flavorful, tender, juicy meat. A final note of caution: keep a close eye on any sly dog who can reach your counter.


